
Achieve the perfect red pout with my step by step tutorial…
I absolutely love a strong lip colour but daring to go bold also comes with a necessity for maintenance while you wear it. The key to success with this look is in the application. Wearing a red, plum, berry etc requires precise application. There isn’t any room for error as it will be very obvious… not to mention the whole “lipstick on the teeth” faux pas. Did you ever see Jodie Marsh on This Morning? Even with access to a celebrity Makeup Artist she still made the error of doing a full TV interview with lipstick on her teeth. Holly Willoughby came under much criticism for not mentioning it to Jodie during the interview.

So here is my quick guide for you to achieve a perfect red pout and hopefully you won’t make the same embarrassing mistake as poor Jodie!
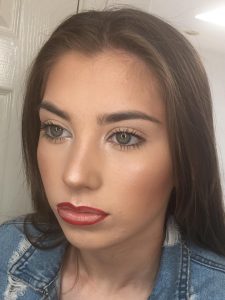
STEP 1 – LINE THE LIPS
A strong lip requires a matching sharp lip liner or a good lip liner brush… this look requires precision. A lip liner/liner brush will create your outline and eliminate lipstick bleeding around your mouth. Nothing worse than a strong lip colour that in the words of my nanna “looks like you have been smacked in the mouth with a jam tart”… So line around your lips with the sharp matching pencil or use your liner brush to pick up the colour from your lipstick bullet/palette and brush the outline on. Keep a steady hand…

STEP 2 – BUFF THE COLOUR OVER TO PRIME THE LIPS
Once you have lined your lips, buff the pencil or remaining product over your lips… this acts like a primer. A primer helps makeup to stick to the base (whether it is your eyes, lips, foundation etc). Buffing the colour over your lips does not need to be a full colour application. You can see on the image below that the lips look a bit patchy. That’s fine!
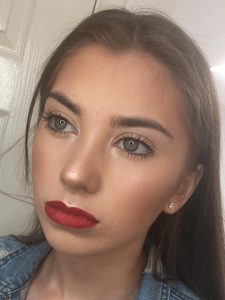
STEP 3 – ADD FULL COLOUR
So if you are using a lip brush, load the brush with plenty of product – we want a strong look so go for it! If you are using the lipstick bullet then just apply as normal. Make sure you are careful and stay within your outline. Add one full application of colour.
STEP 4 – BLOT WITH TISSUE AND REAPPLY ANOTHER APPLICATION OF FULL COLOUR
Grab a tissue and blot your lips, applying light pressure.
Then re-apply another application of full colour.
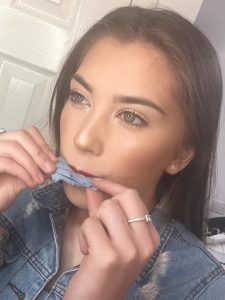
STEP 5 – SUCK YOUR FINGER
So you have now applied the colour – we need that colour to stay put and not go on your teeth. A great tip is to pop a finger in your mouth and pull it out…yes it sounds weird… but its going to take any excess product from your lips and put in on your finger as opposed to your teeth – you have witnessed above how embarrassing that can be!
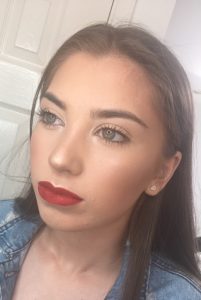
STEP 6 – GLOSS (optional)
If you want to add a bit more drama to your hot red pout, dab a little gloss on! A glossy red lip is the ultimate in Hollywood glamour! It can look so beautiful! For this look I used Ruby Woo and Lip Glass both by Mac Cosmetics.

STEP 7 – **IMPORTANT PART** – MAINTENANCE
It is vital that you maintain your lip colour for the duration that you are wearing it… it will fade as you eat and drink. A bold lip needs to stay bold, not wishy-washy. Pack your lippy in your purse and do a lippy check every time you go to the loo.
A little bit of advice – bold lips are not flattering for thin lips. It actually makes them look thinner. If you have thin lips, stick to nude colours and gloss them up. It creates the illusion of fuller lips.
PS – so out of interest, would you have told Jodie Marsh about the lipstick on her teeth if you were Holly and risk embarrassing her further or would you have sat back until after the interview had finished….? its a tricky one!